0. Reset the router to factory settings in case it's been altered significantly.
1. Set up your ethernet interface to have a static ip of 192.168.1.2. Make 192.168.1.1 the default gateway as well as DNS server. Connect ethernet cable to router.
2. Go to the router's config interface at http://192.168.1.1 - by default
username = admin
password = admin.
3. Go to Advanced Setup -> WAN on the left side menu and delete all other interfaces except the one with PPPoE (or delete all and start from scratch)

4. Using Edit if you're not making a new interface with Add, you get the next screen, where you make sure the VPI/VCI are 0 and 35.

5. In the next screen, make sure PPPoE is chosen as connection type, and encapsulation mode is LLC.

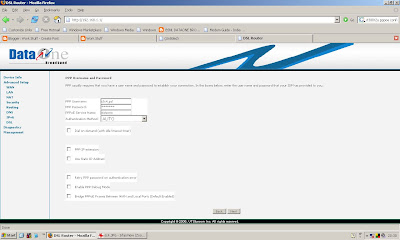
6. In the next screen, give your username and password, call the service name dataone, and most importantly, uncheck all the checkboxes, especially the one saying "Bridge PPoE Frames".

7. In the next screen, make sure "Enable WAN service" is checked. Multicast is optional.

8. In the next screen click "Save"

9. Finally click "Save/Reboot"

After the Router power cycles and the DSL light comes back on, you should find PPPoE UP in the WAN Status.
No comments:
Post a Comment